0
Your basket
Hand stitched card patterns to download and print (download info).
10% OFF when you buy 4 sets or 10 single patterns (applied automatically)

Gallery Page 2

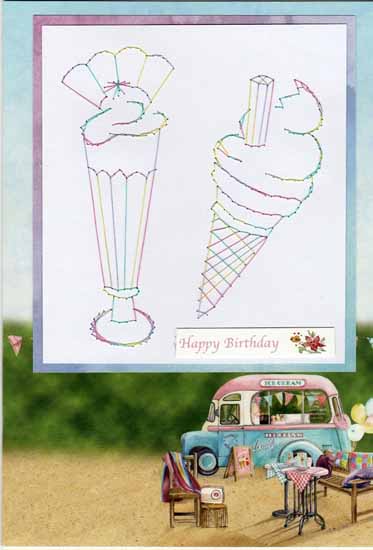
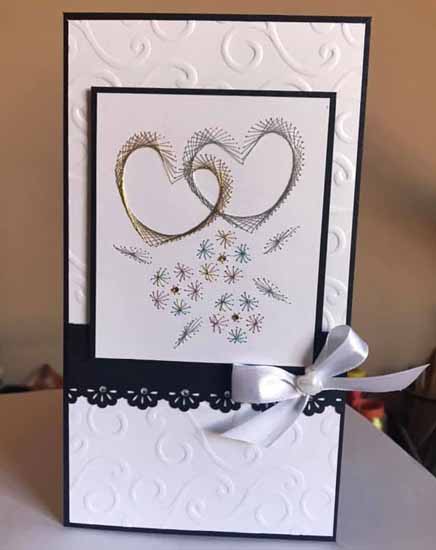
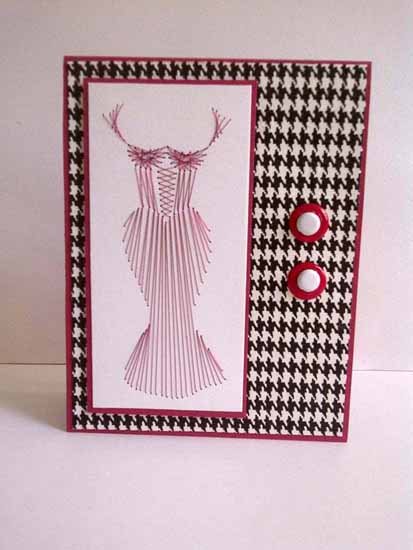
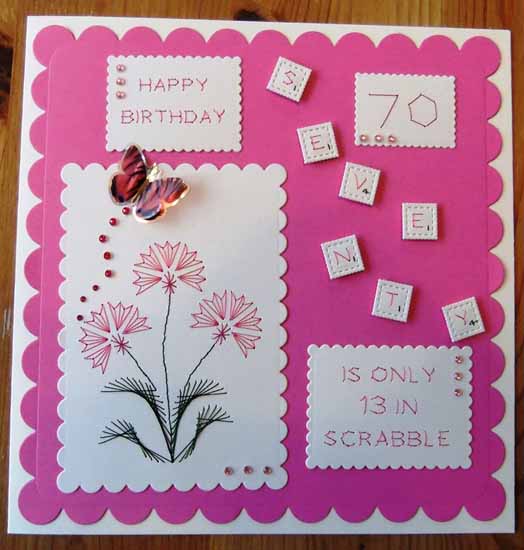
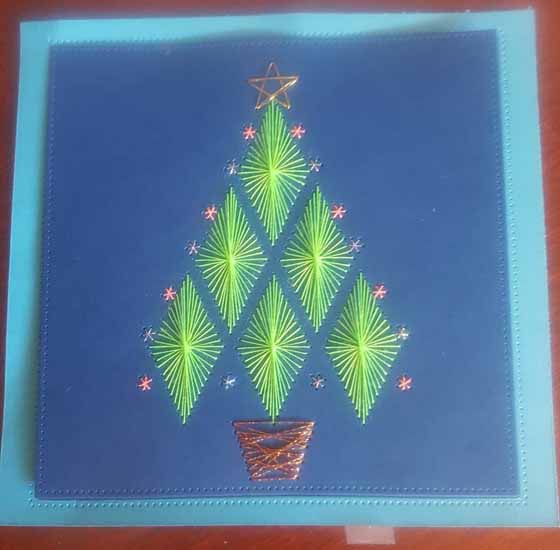
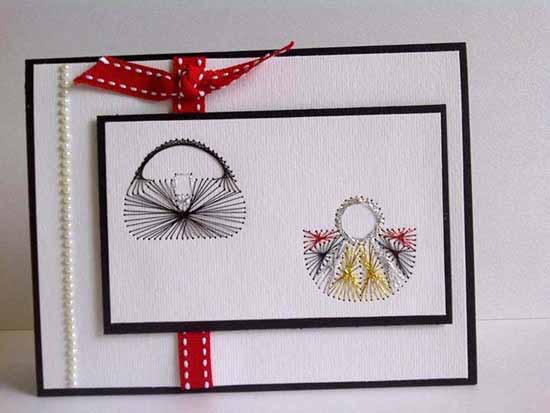
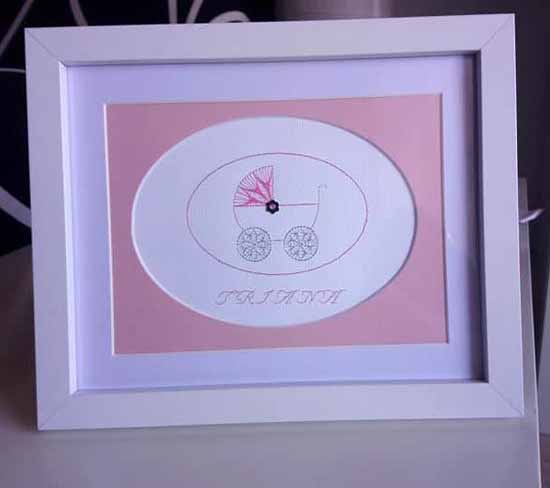
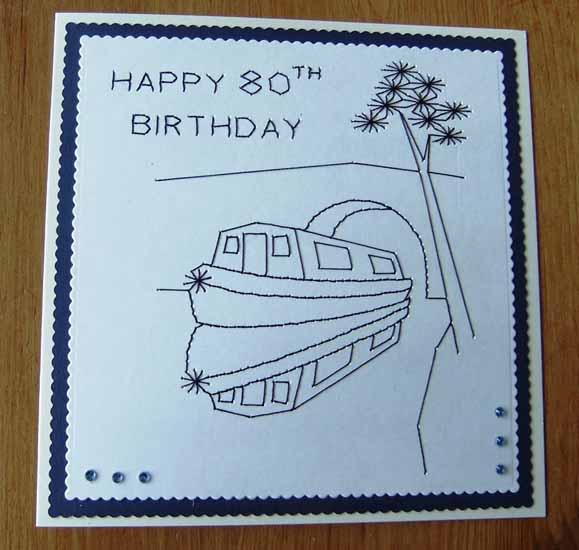
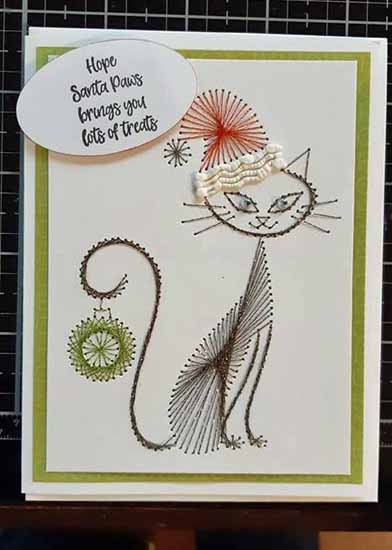
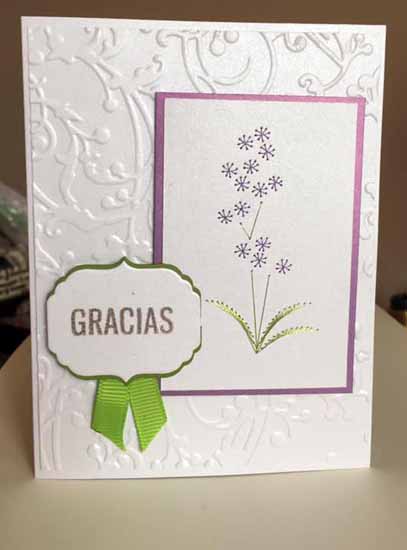
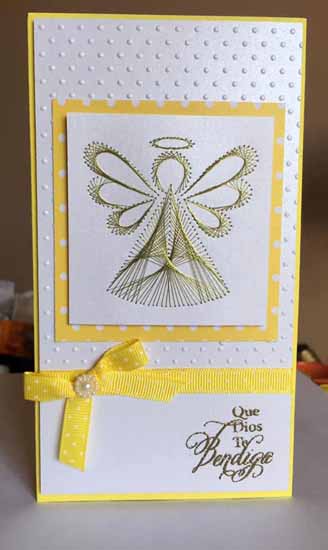
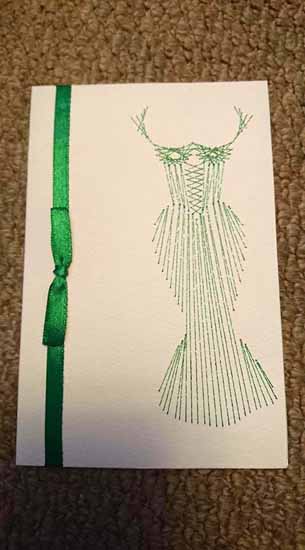
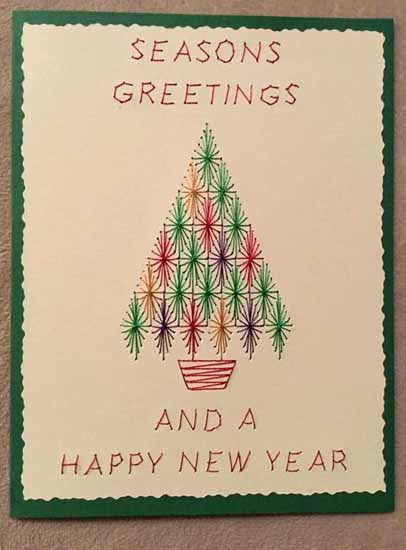
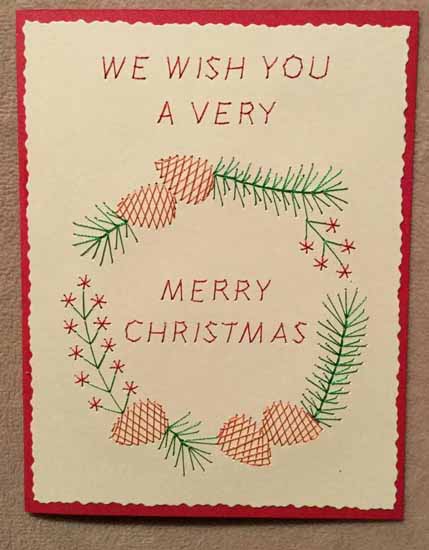
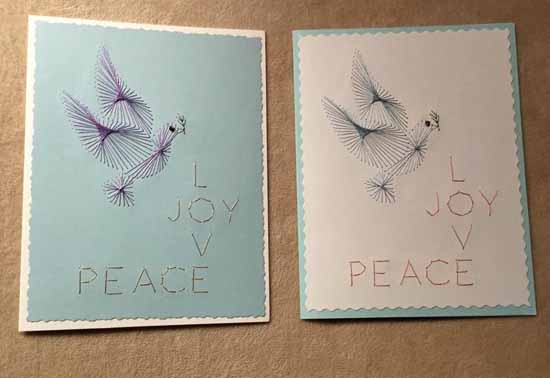
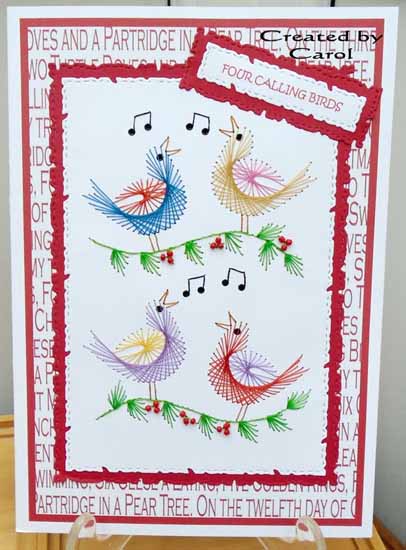
These are greetings cards made by our customers using Form-A-Lines stitching card patterns. The patterns can be found in our download store. If you would like to add a card to the gallery, send it to us by email.

Click/tap the image to see a larger version. The link in the caption leads to the pattern used.

Made by Christine McAdams. Pattern used: Form-A-Lines Sweet Delight Set
Made by Patricia Cubias. Pattern used: Form-A-Lines Wedding Hearts
Made by Patricia Cubias. Pattern used: Form-A-Lines Fashion Dress
Made by Annette Haile. Pattern used: Form-A-Lines Garden Flowers A2 – Carnations
Made by Teresa Gray-Smith. Pattern used: Form-A-Lines Christmas 26-3 – Tree
Made by Annette Haile. Pattern used: Form-A-Lines Steam Train
Made by Patricia Cubs. Pattern used: Form-A-Lines Retail Therapy Handbags
Made by Eugenia Glushchenko. Pattern used: Form-A-Lines Tiny Tots – Pram
Made by Annette Haile. Pattern used: Form-A-Lines Country Scenes Barge
Made by Patricia Cubas. Pattern used: Form-A-Lines Retail Therapy Handbags
Made by Michele Nylen. Pattern used: Form-A-Lines Christmas 22-3 – Cat and Bauble
Made by Patricia Cubas. Pattern used: Form-A-Lines Butterfly 3
Made by Patricia Cubas. Pattern used: Form-A-Lines Retail Therapy Shoes
Made by Patricia Cubas. Pattern used: Form-A-Lines Christmas 03-2 – Angel
Made by Vickie Ann May. Pattern used: Form-A-Lines Fashion Dress
Made by Patricia Cubas. Pattern used: Form-A-Lines Fashion Dress
Made by Patricia Cubas. Pattern used: Form-A-Lines Christmas 11-1 – Fairy
Made by Barbara Marshal. Pattern used: Form-A-Lines Christmas 29-3 – Tree Seasons Greetings
Made by Barbara Marshal. Pattern used: Form-A-Lines Christmas 29-1 – Pine Cone Circle
Made by Barbara Marshall. Pattern used: Form-A-Lines Christmas 29-2 – Dove Joy Love Peace
Made by Carol Doyle. Pattern used: PinBroidery Christmas Days B1 – Four calling birds

< Gallery Index
< Gallery Page 1
Gallery Page 3 >