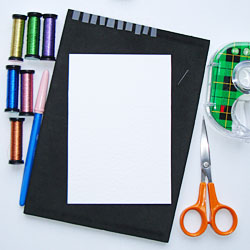
Materials
Card
Thread
Adhesive tape
Tools
Needle
Pricking tool
Pricking mat
Scissors
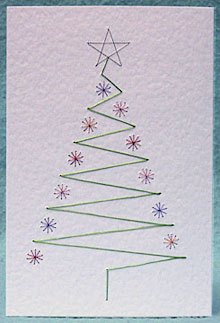
This project shows how to create a beautiful handmade card using the prick and stitch method. Card stitching is easy when you follow the step-by-step instructions in the Form-A-Lines patterns. We are using the free Form-A-Lines Christmas tree design. It is sewn directly on a hammered white card measuring 104mm x 152mm (6 inches by 4.2 inches).
The tree is stitched in green metallic thread. There is a silver star on top and the decorative baubles are stitched in pink, purple, red and bronze metallic thread. This Form-A-Lines design takes approximately one hour to prick and stitch.
Here is a link to the free Christmas tree pattern used here to demonstrate how to stitch a card.
Method
Protect your work surface with a piece of foam, a felt pricking mat or a folded towel.
Open up the card and with the right side facing up, lay the Form-A-Lines pricking pattern on the middle section.
We are using a double-fold card for this demonstration. You could also use a rectangle of card and mount it on a single-fold greetings card when the stitching is complete.

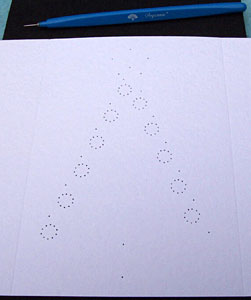
Holding the pricking pattern template in place, take a pricking tool (or hat pin) and prick through each dot in turn making sure that the point also goes through the card.

Tip – you can secure the pricking pattern in place with tape if you use the tape on the side of the card that will be hidden when the design is complete.
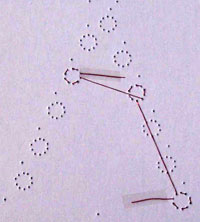
Remove the Form-A-Line pricking pattern template when the entire design has been completed. The illustration shows the front of the pricked out card.
Cut a length of thread about 18 inches long and thread the needle. It is better to use several short threads rather than one long piece as the holes of the card may start to wear away the filament in the thread and cause it to fray. The underside of your work will be hidden so it does not matter how many times you attach new threads.
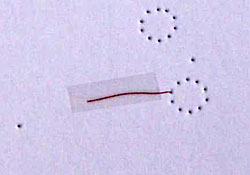
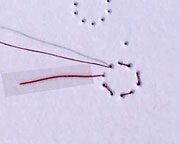
Turn the card over so that it is face down. Pass the needle through the first hole, going from the back of the card through to the front. Pull the thread through until there is just a short piece left. Attach this to the back of the card with clear self-adhesive tape.
Follow the instructions for each embroidered design.
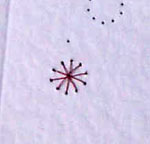
The illustration shows the diagram for one of the baubles.
The written instructions take you through the card stitching process step-by-step.
“Out at …” means bring the needle from the back of the work through to the front.
“In at …” means take the needle from the right side of the work through to the back.
The stitched bauble seen from the front of the card.
The stitched bauble seen from the back of the card. Most of the thread appears on the front of the card.
The back of the card showing three red baubles have been stitched.
The end of the red thread is secured to the back of the card with self-adhesive tape.
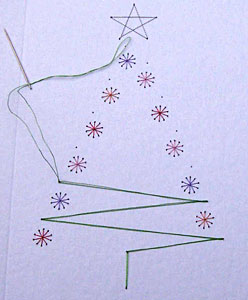
The front of the card with the baubles and star completed. The tree is being stitched in double green thread to make it stand out more.
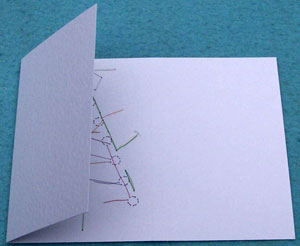
This is the back of the card with all of the stitching completed.

When the stitching is complete lay the card face down on your work surface. Fold the left-hand panel of the card across the centre panel to cover the back of the stitching. Fix it in place with card adhesive or double-sided self-adhesive tape.
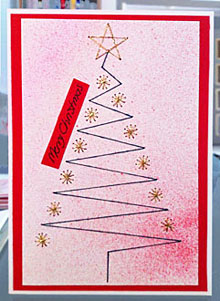
This is the front of the finished card. Your Form-A-Lines stitching card is now ready for you to add a message of your choice.
A popular alternative is to stitch the pattern on a rectangle of card and then mount this on the front of a single-fold greetings card. This will hide the stitching on the back. If you choose cards in complimentary colours, or use patterned paper, it will add an extra dimension to your creation.
See our Useful Links page for equipment and materials suppliers.